Step.1 / Java 설치
1-1. java -version으로 설치 여부 확인. 가상 서버를 처음 실행했다면 설치 이력이 없겠지?
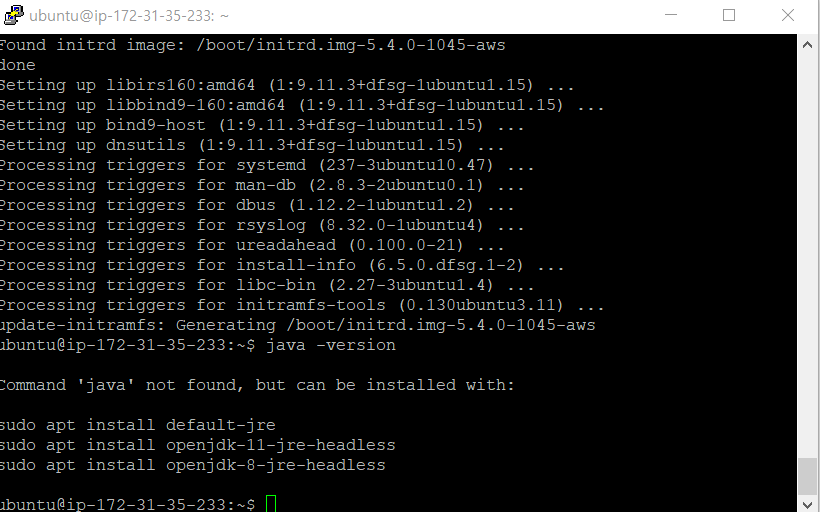
1-2. JRE,JDK 설치 / sudo apt-get install openjdk-8-jre / sudo apt-get install openjdk-8-jdk 명령어 실행
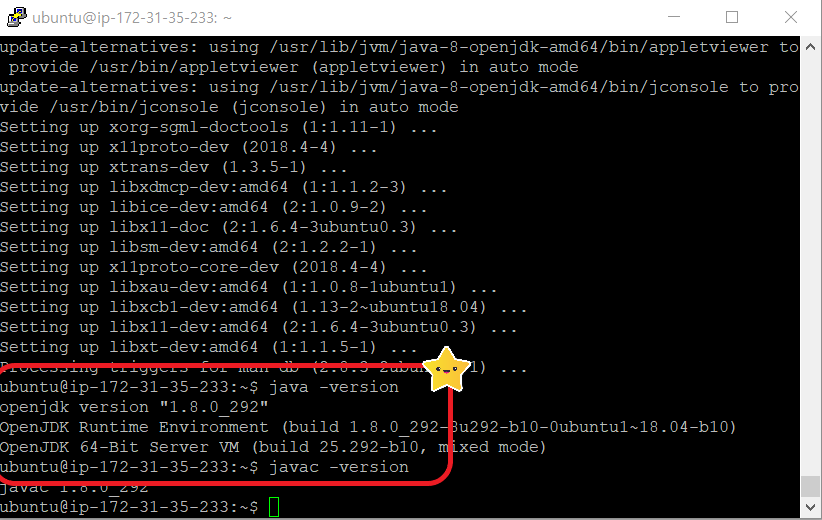
1-3. JRE,JDK 설치 확인 / java- version / javac -version 명령어 실행
Step.2 / Tomcat 설치
2-1. FileZilla 설치
https://filezilla-project.org/
FileZilla - The free FTP solution
Overview Welcome to the homepage of FileZilla®, the free FTP solution. The FileZilla Client not only supports FTP, but also FTP over TLS (FTPS) and SFTP. It is open source software distributed free of charge under the terms of the GNU General Public Licen
filezilla-project.org
2-2. 파일/사이트 관리자에서 필요한 정보를 등록 및 입력한다.

2-3. 편집/설정/SFTP로 이동하여 private key 파일 추가한다.

2-4. 좌상단 '사이트 관리자 열기' 탭의 화살표를 클릭해 원하는 서버를 연결한다.
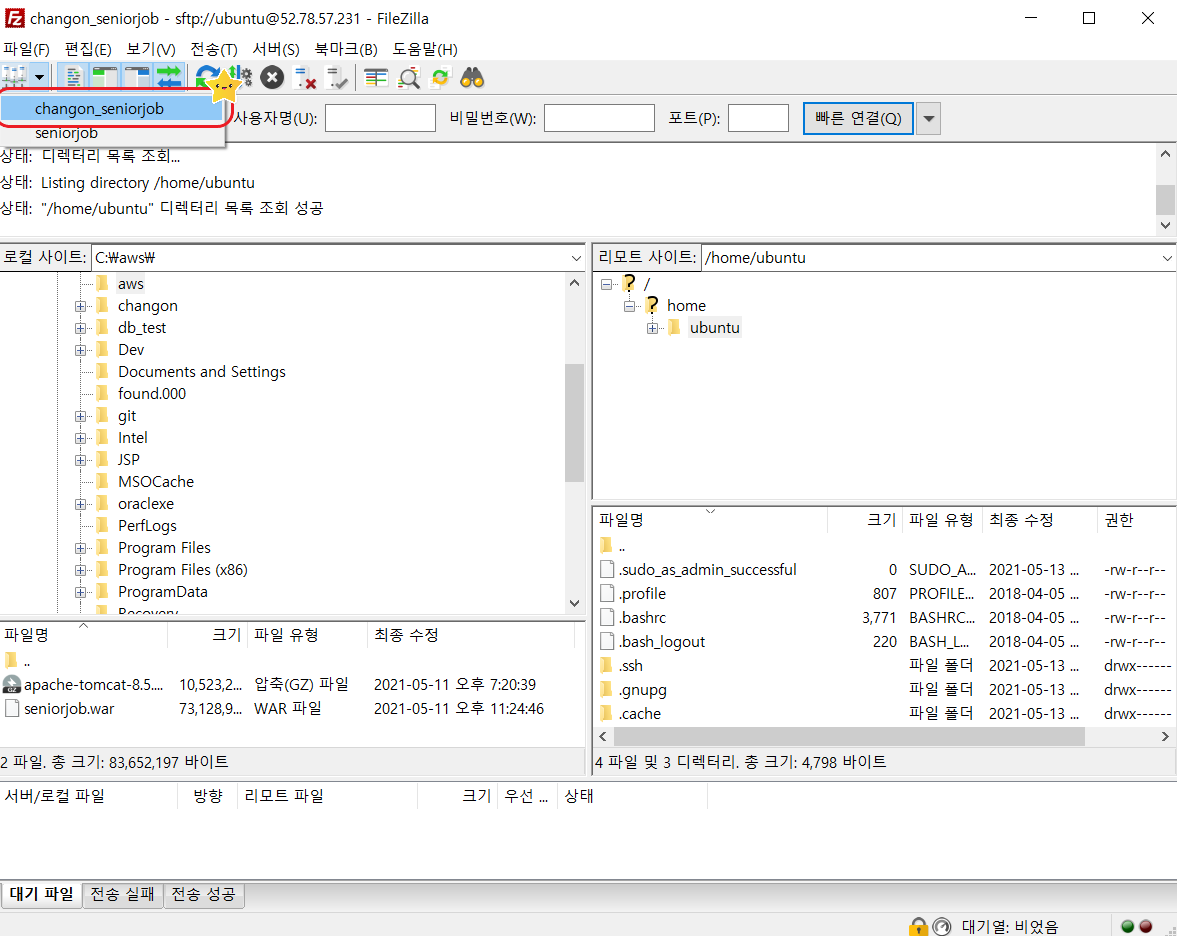
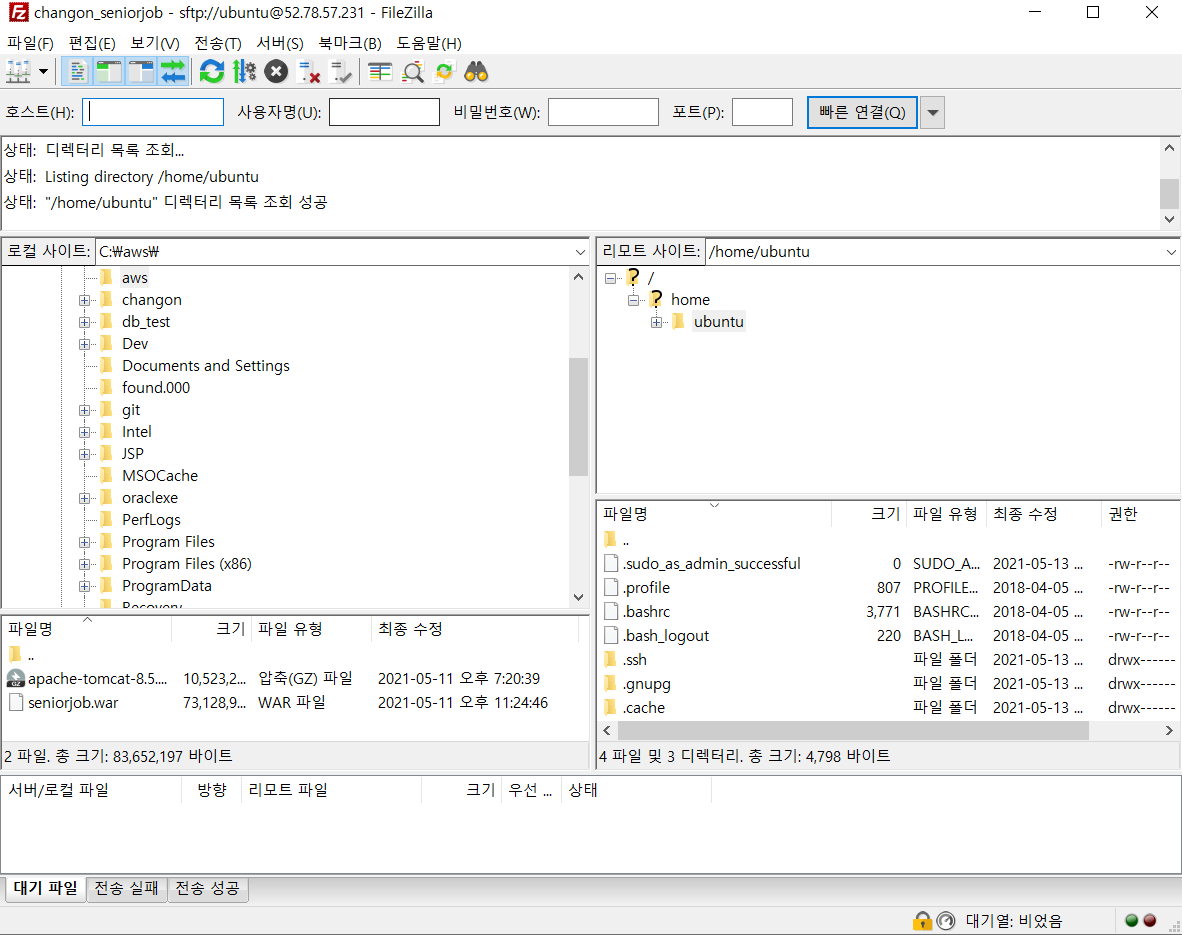
2-5. 연결 성공
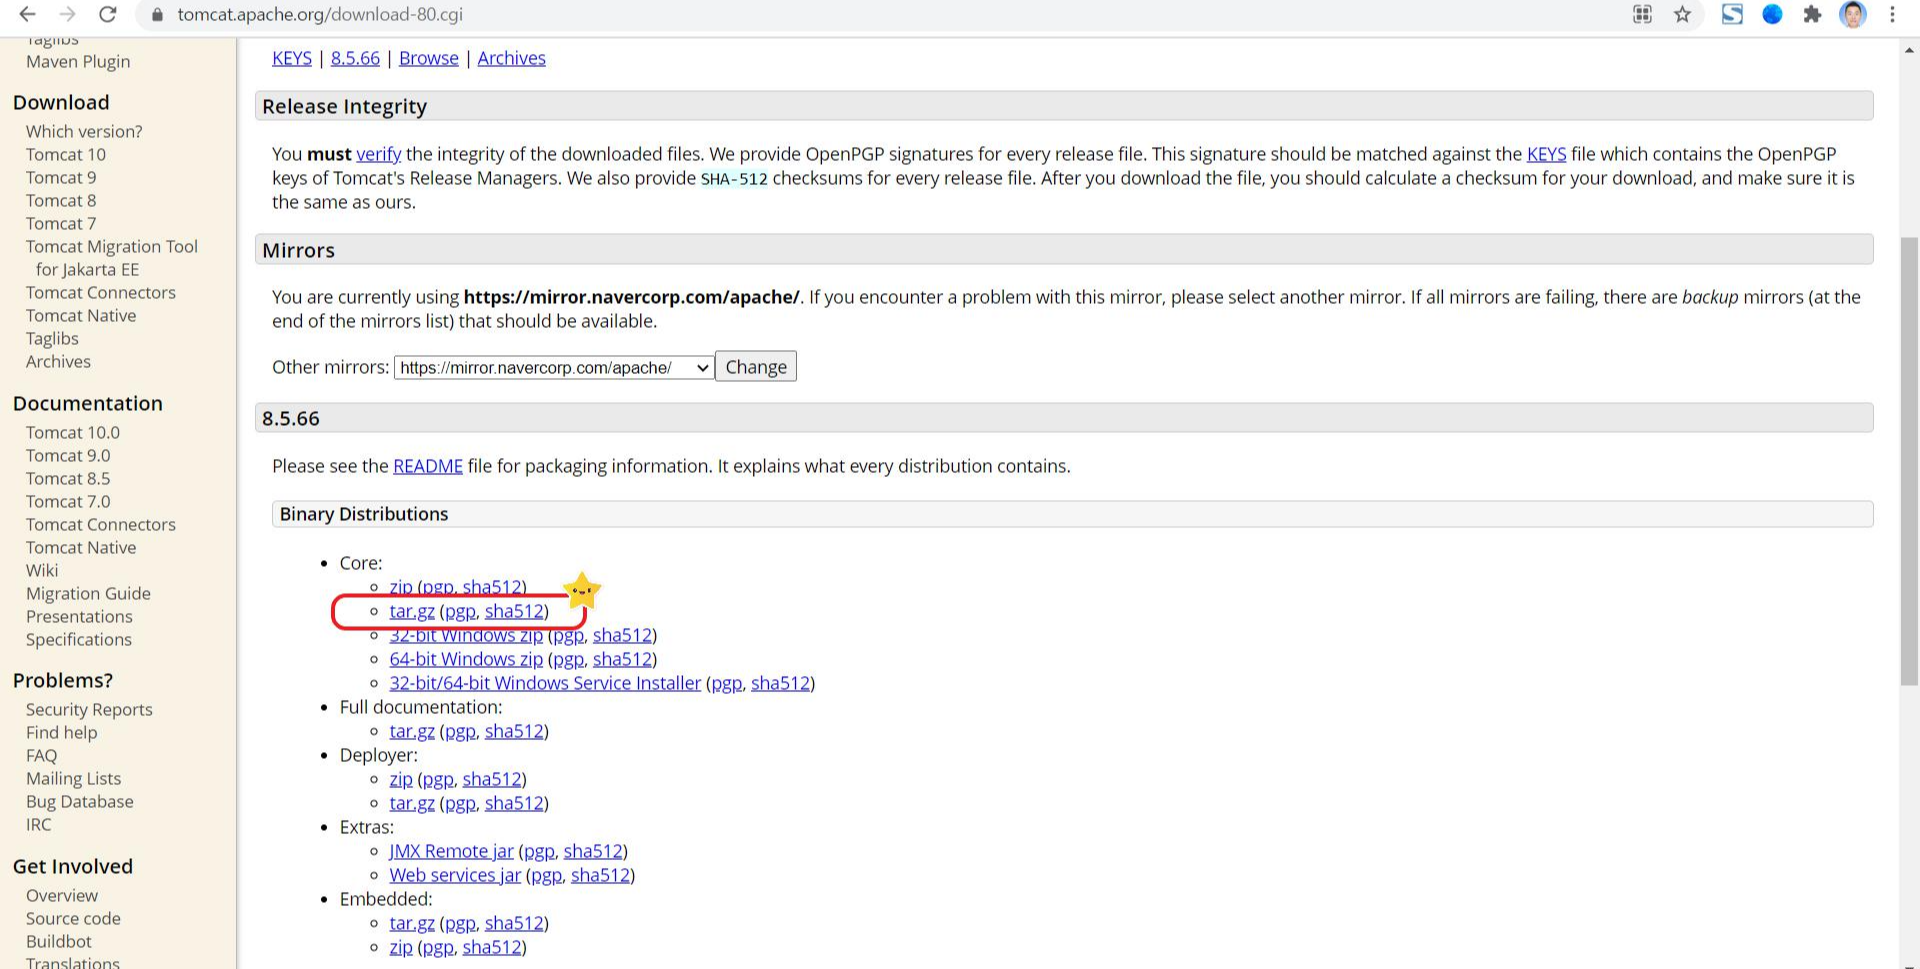
2-6. Tomcat 원하는 버전 다운로드. tar.gz를 다운받아야 한다.
https://tomcat.apache.org/download-80.cgi
Apache Tomcat® - Apache Tomcat 8 Software Downloads
Welcome to the Apache Tomcat® 8.x software download page. This page provides download links for obtaining the latest versions of Tomcat 8.x software, as well as links to the archives of older releases. Unsure which version you need? Specification versions
tomcat.apache.org
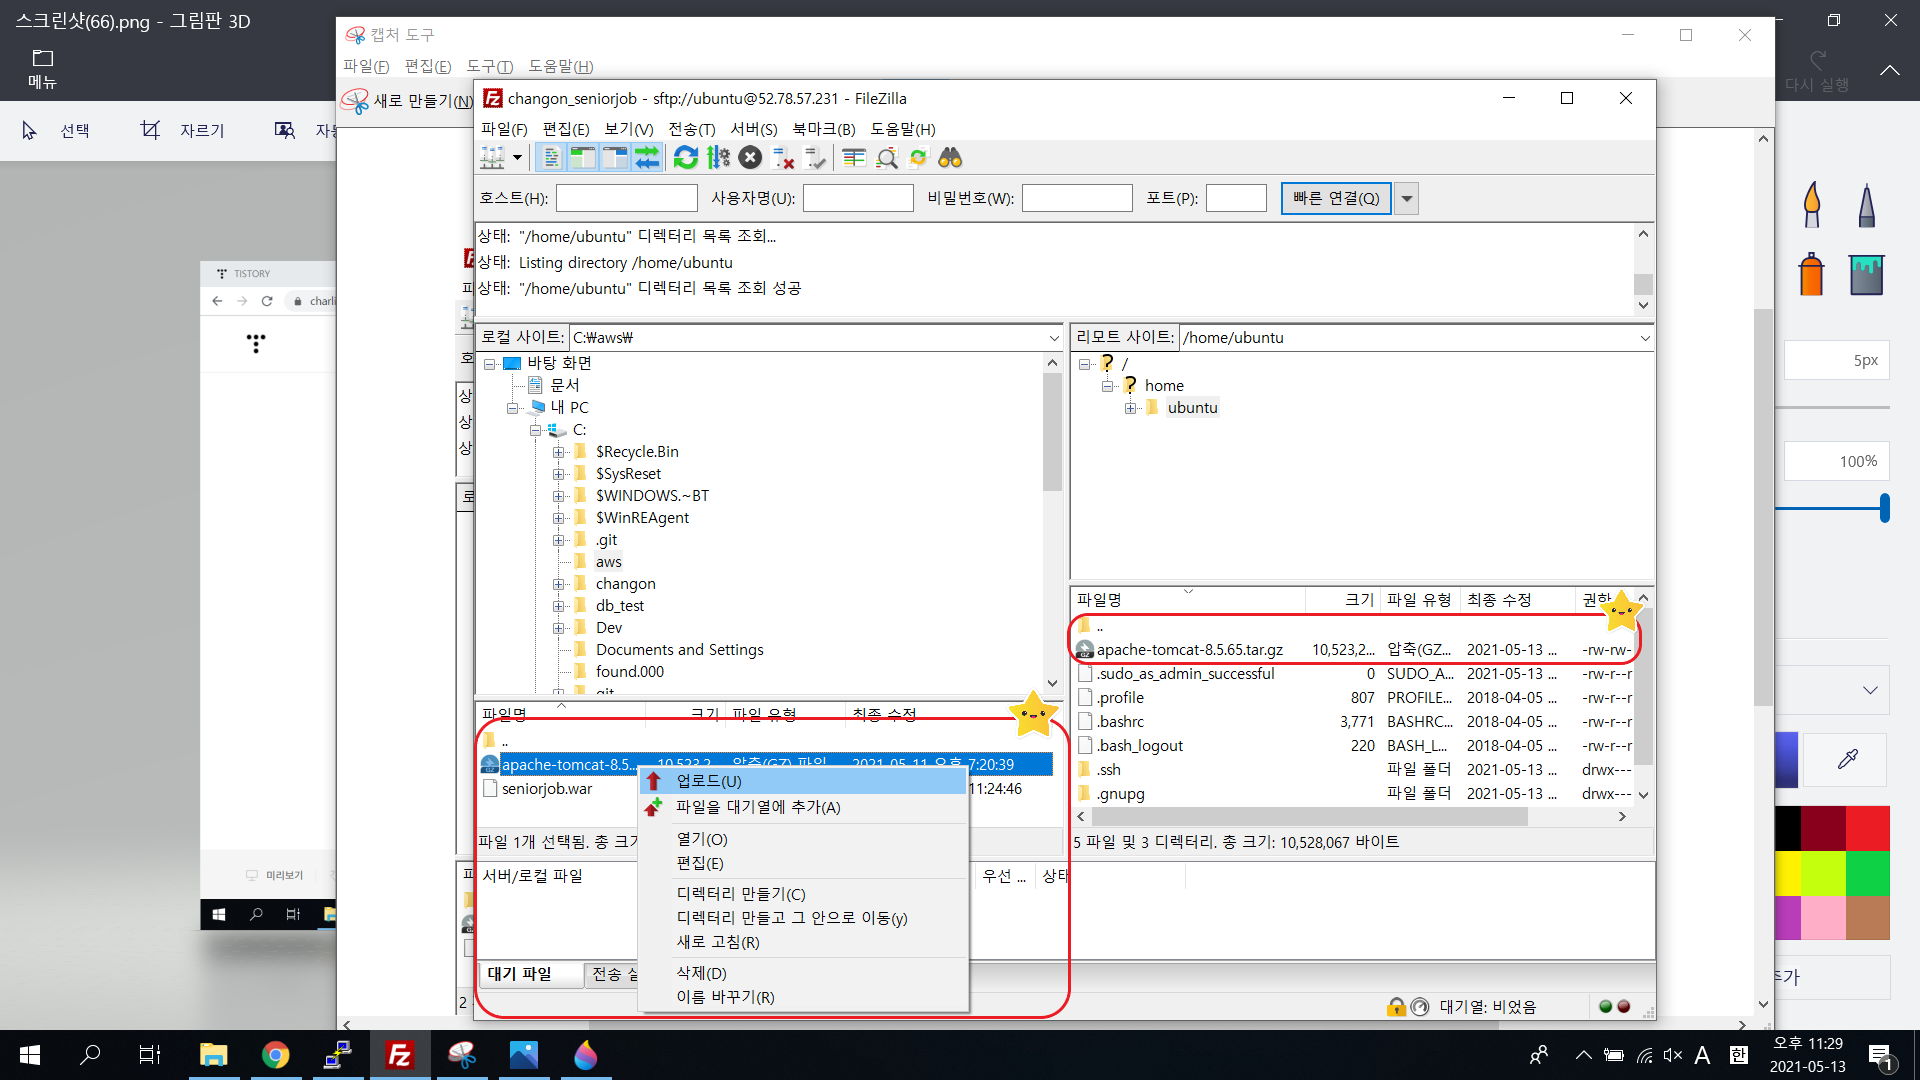
2-7. 가상 서버로 tar.gz 파일을 전송하자.
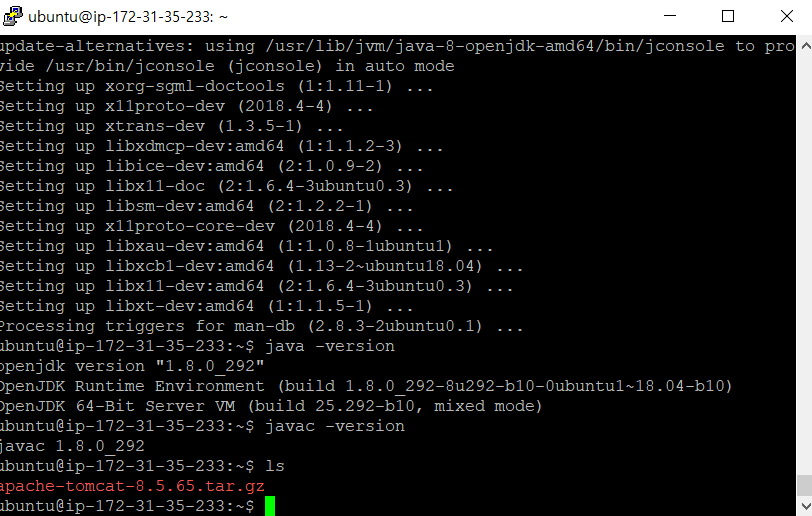
2-8. 터미널에 ls 명령어로 확인하면 tar.gz 파일의 업로드를 확인 가능하다.
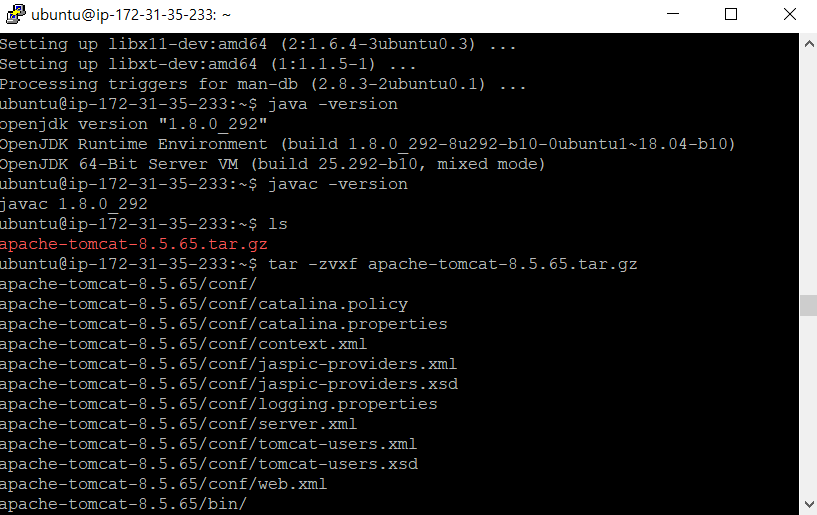
2-9. tar.gz 압축 해제한다. / tar -zvxf apache-tomcat-다운받은 Tomcat 버전.tar.gz
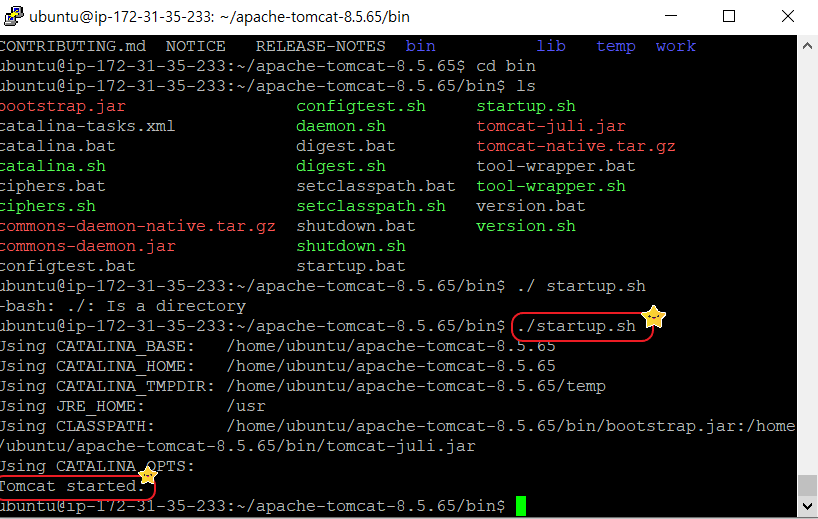
2-10. 압축 해제 폴더 안의 bin 폴더로 이동하여 ./startup.sh 실행하여 Tomcat 시작.
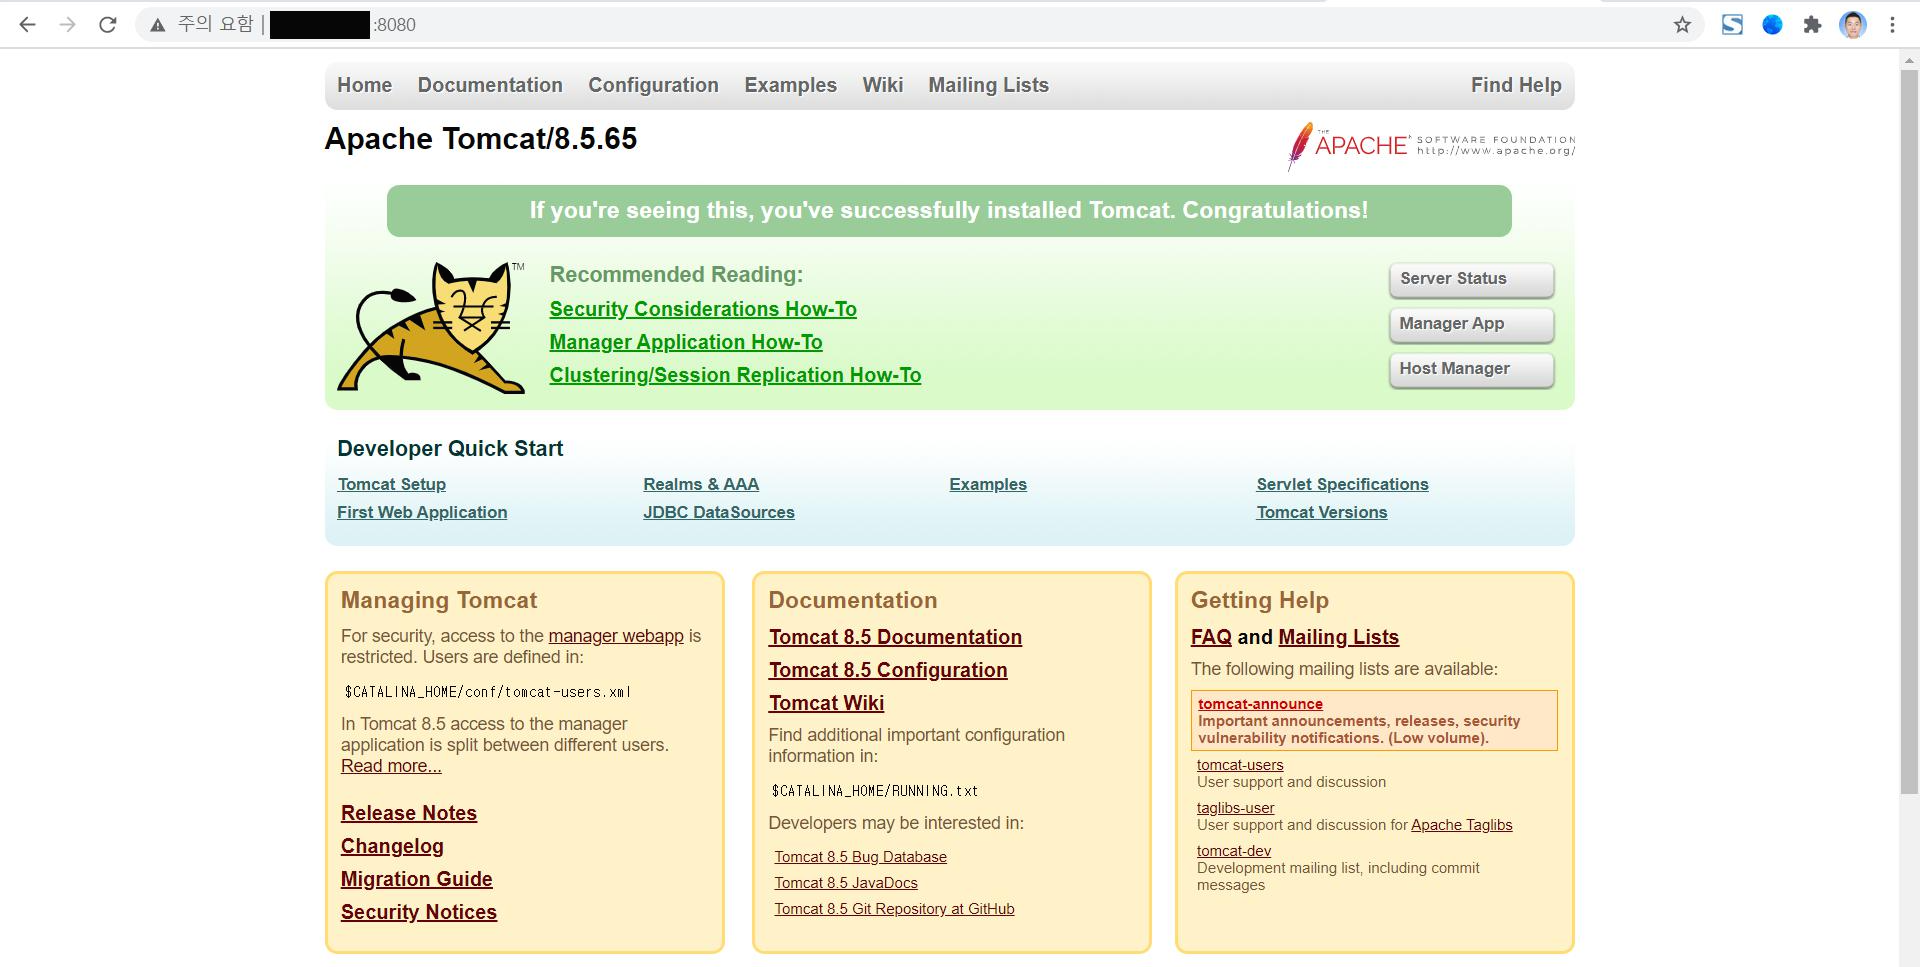
2-11. 본인 IP 주소(=탄력적 IP 주소):8080 입력하면 아래와 같은 Tomcat 연결 성공 페이지가 호출된다.
'Programming > AWS' 카테고리의 다른 글
| [AWS] Amazon Linux 환경에서 Java 1.8, Tomcat9, Jenkins, Redis, Maven 설치 + Nginx 설치 + Hostname 변경 (0) | 2022.03.30 |
|---|---|
| [AWS] Spring 프로젝트를 AWS로 배포[5] RDS 생성을 통한 프로젝트 DB 구축 (0) | 2022.03.26 |
| [AWS] Spring 프로젝트를 AWS로 배포[4] war 파일로 배포 (0) | 2021.05.14 |
| [AWS] Spring 프로젝트를 AWS로 배포[2] puTTY 활용한 인스턴스 서버 접속 (2) | 2021.05.13 |
| [AWS] Spring 프로젝트를 AWS로 배포[1] 인스턴스 생성 및 탄력적 IP 연결 (0) | 2021.05.13 |


